


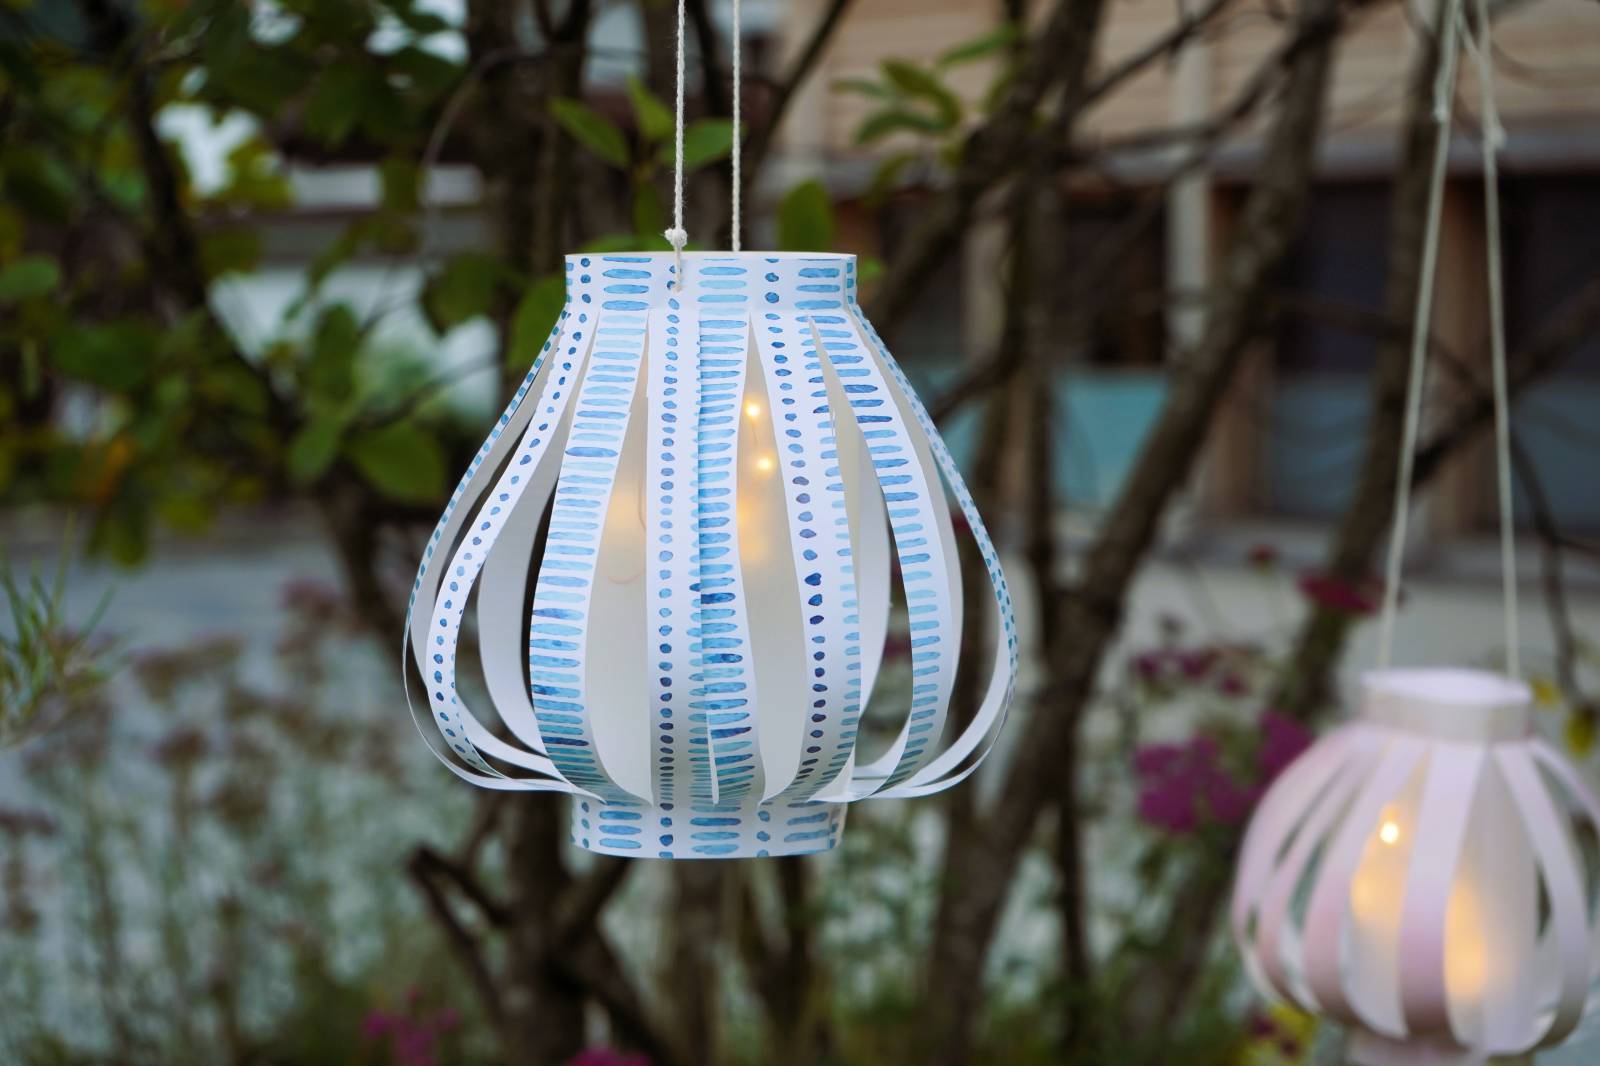
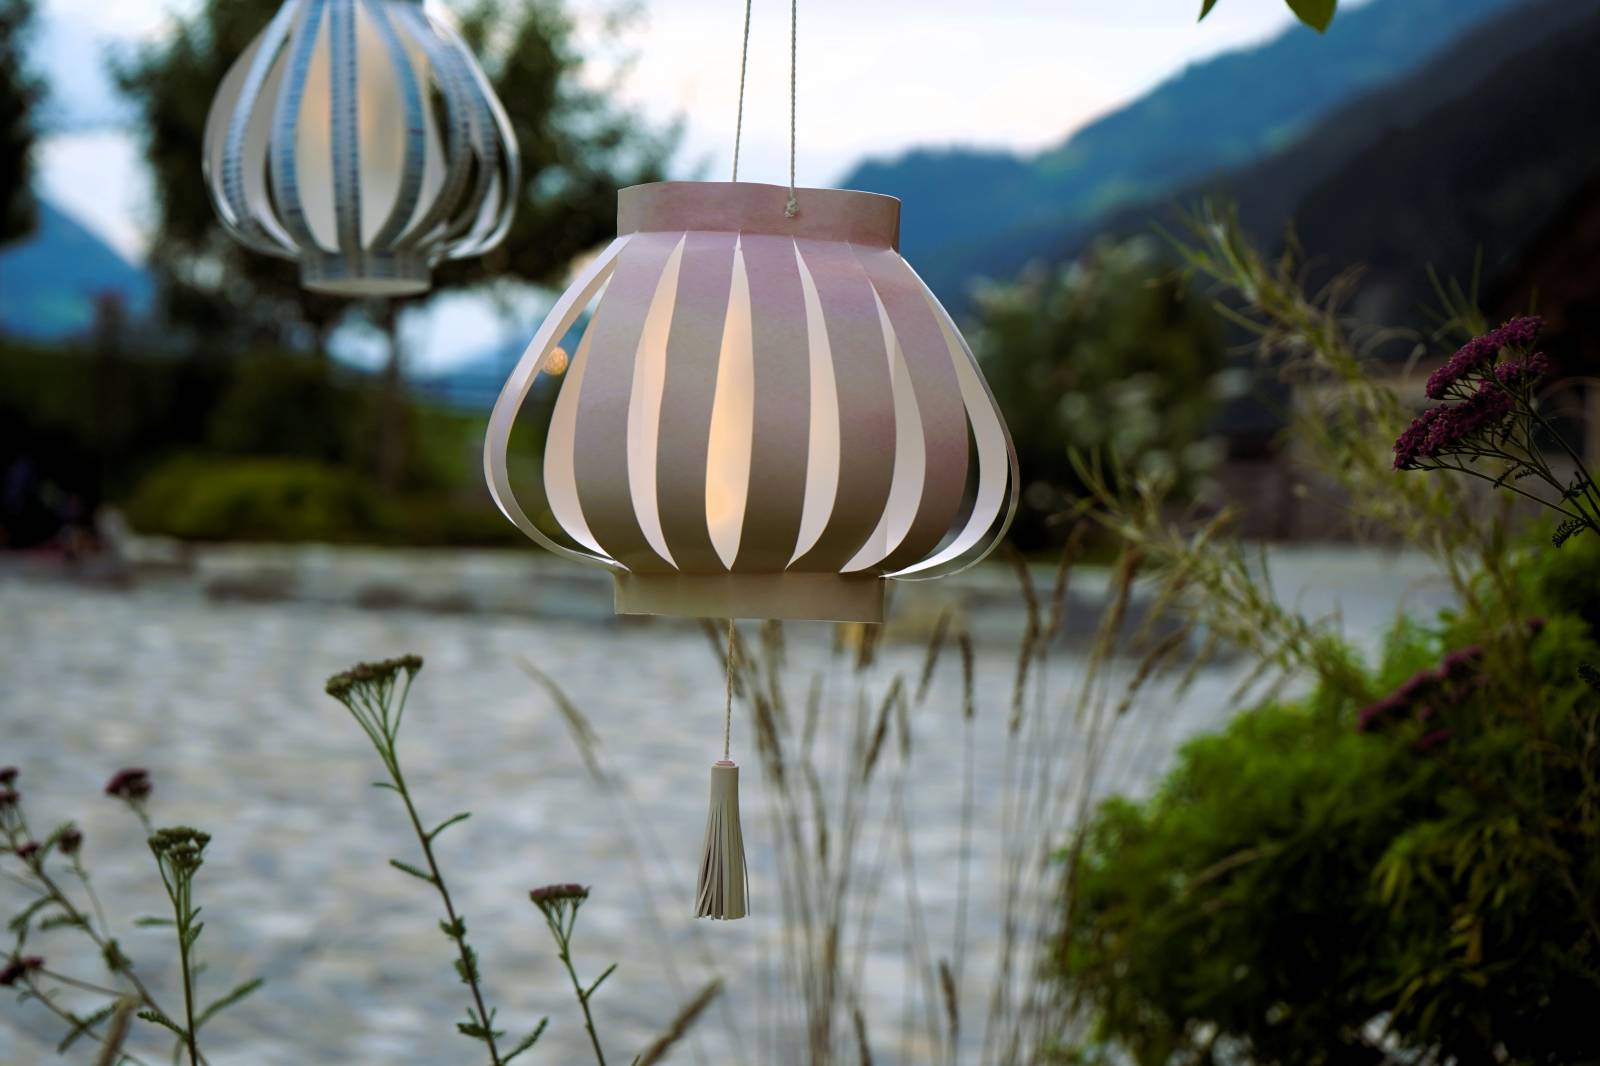

What you need:
- Paper
- Transparent paper
- Glue
- Scissors or a craft knife
- Pencil for marking
- String
- Needle
- A small string of fairy lights or similar
Here’s how it works:
- First, prepare a strip of paper about 1.5 cm wide to use as a ruler.
- Use this “ruler” to draw a line along the top and bottom edge of the long side of the paper.
- Next, draw many evenly spaced lines across the short side of the paper.
- Cut along these short-side lines with scissors or a craft knife.
- The transparent paper should be the same width as the decorative paper, but a little shorter in height (about 4–5 cm).
- Attach it to the bottom edge of the decorative paper (edge to edge).
- Now apply glue to the top edge of the decorative paper and attach the top edge of the transparent paper (edge to edge) – this creates a nice curve in the decorative paper.
- Cut off the last strip of decorative paper, roll the lantern so that the edges meet, and glue them together.
- Finally, use a needle to make small holes on the left and right side of the top edge, thread a string through, and tie it securely.
- The string can be used to attach the fairy lights. If the lanterns lose their shape, you can reinforce them at the top with a straw or wooden skewer.
We wish you a wonderful creative time!
Children can also get creative in our Natur Kindergarden– in the art studio and the workshop, beautiful works of art are created every day.
Leave a comment